
Introduction
Welcome to my homelab hardware series! In this series, I will document the hardware for my homelab, as well as the decisions I made and the lessons that I have learned. The first few episodes will be written looking back into the past at my progression, but once we are all caught up, there will be a new post whenever I get some new hardware.
Definition: What is a homelab?
Scrolling through the posts on r/homelab might seem intimidating. Pictures of 42u server racks filled to the brim with servers are not uncommon. “I can’t do that” you might think.
The servers are too expensive. The servers would consume too much power. I don’t have the space. It would be too loud. I don’t have …
All of the above are concerns that might pop into your head.
Don’t get me wrong, you should consider all of these things before getting started. But what if I told you that you don’t need a server rack to get started with a homelab? What if I told you you don’t even need an enterprise server? What even is a server?
In computing, a server is a piece of computer hardware or software (computer program) that provides functionality for other programs or devices, called “clients”.1
Notice how there is no mention of specific hardware. Have an old computer sitting around collecting dust? Install your operating system of choice and turn it into a server! Don’t have any hardware or the money to buy some? Pretty much every cloud provider has a free tier (AWS, Google Cloud, Oracle). These are great options if you are looking for the cheapest way to learn. Learning about these cloud services will even give you bonus marketable skills to employers.
Another bonus here is as you expand you can slowly migrate things to host them on your own hardware, and hybrid cloud solutions are pretty common in practice as companies either migrate to cloud solutions or intentionally host some things on their own to meet their demands. Netflix is famously hybrid cloud, with services running on AWS as well as their own hardware. Open Connect is the best example, where Netflix essentially runs its own Content Delivery Network and partners with Internet Service Providers to put nodes as close to its customers as possible.
So, if a server is just a piece of hardware or software that provides a service that clients can use, what is a homelab? Personally, I really like TechnoTim’s definition:
[A homelab] is a sandbox where you can build, play, and learn about technologies, without the fear of breaking things. It’s a place where you can experiment safely outside of your normal environment or your work environment … It could be as simple or as complex as you want it to be.2
A homelab is really just a place for you to learn, and while most people assume this means having a bunch of hardware at home, it does not have to be that way. An old computer, a Raspberry Pi, or even virtual machines hosted by a cloud provider all count in my book.
My primary goal with this section is to open up your horizons and encourage you to set some goals and try things out. I truly believe the best way to learn is to “get your hands dirty” and build something. So, whatever your goals are, get out there (or just open your laptop in bed) and get homelabbing!
Anyway, enough about the theory, let’s talk about how I got started.
Humble Beginnings
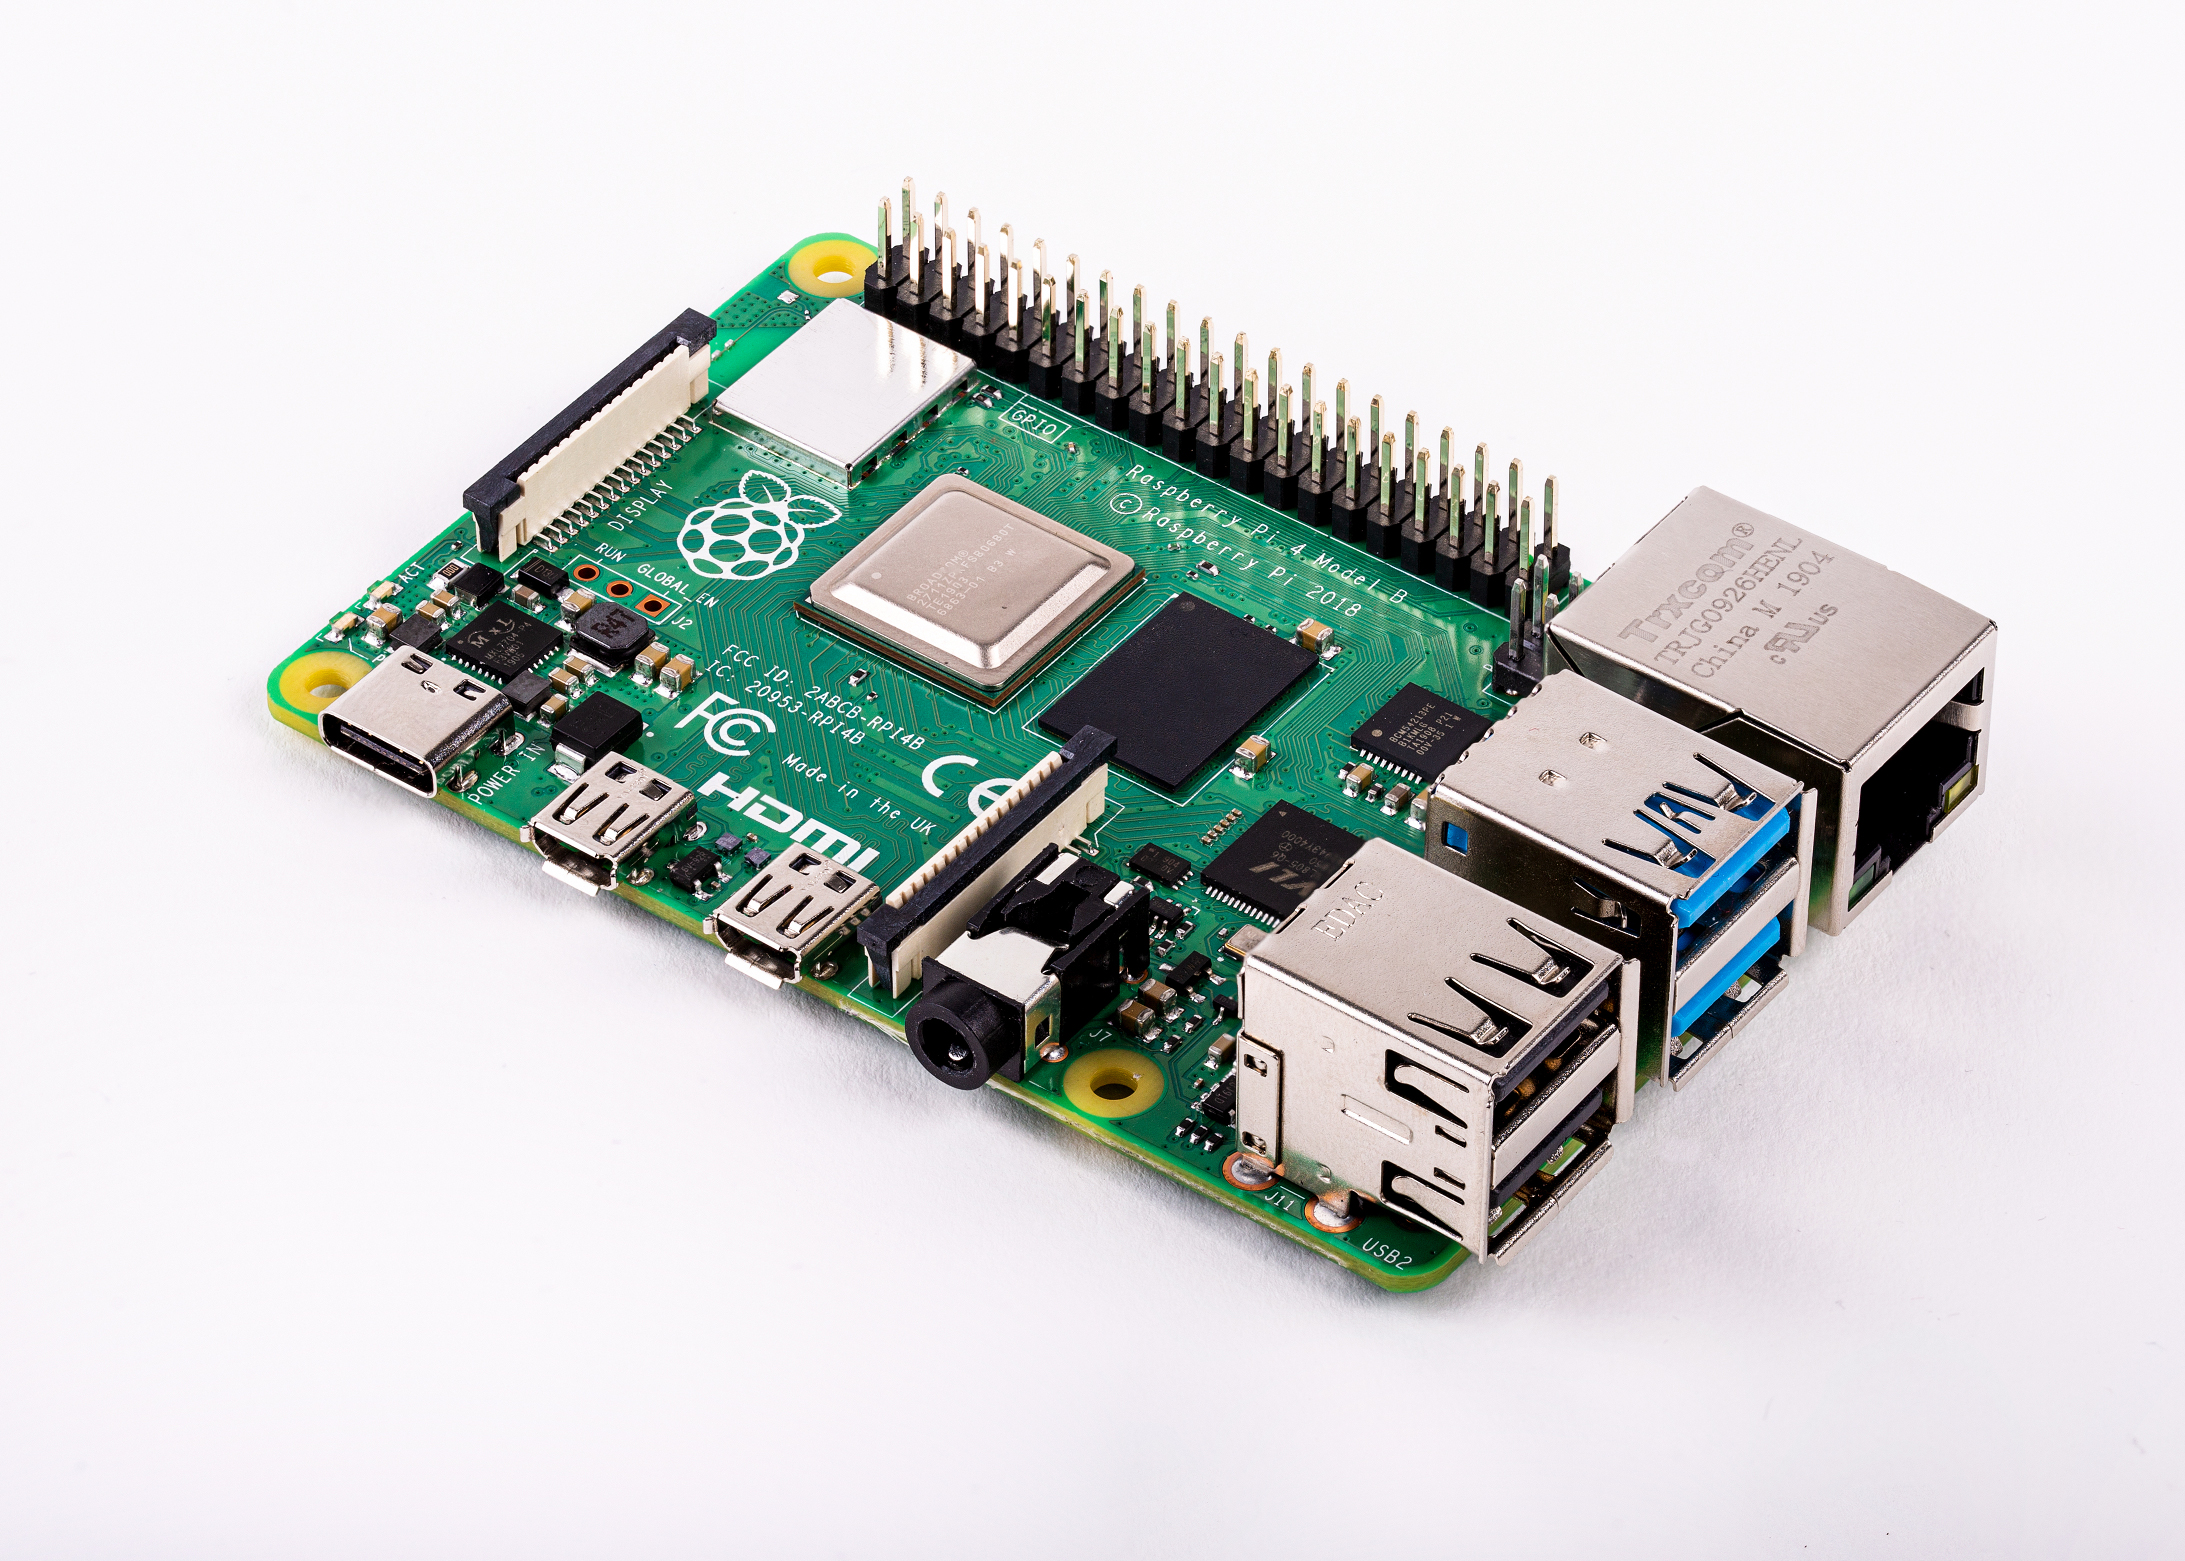
When I was just starting out, my needs were simple. I had just moved into a new house, and I was looking to do some home automation with Home Assistant on the cheap. Back then, the phrase “Supply chain issues” was a whisper in our ears, and the Home Assistant Yellow had not even been announced. While Home Assistant lists several options for hardware on their getting started page, by far the cheapest option was a Raspberry Pi.
After some research on pricing, I ended up grabbing the following off of Amazon:
- Raspberry Pi 4 Model B 4GB ($56)
- Raspberry Pi 4 Case, with fan and heatsinks ($10)
- CanaKit 3.5A Raspberry Pi 4 Power Supply ($10)
- 64GB SAMSUNG EVO Select Micro SD card ($12)
At the time, all in after-tax the Pi cost me about $100. Not bad for a super small low-power computer. I popped in the SD card, installed Home Assistant, and got automating. HAOS (Home Assistant Operating System) comes with a really nice Add-on platform (my favorite probably being the VSCode server) and pretty quickly I was running DNS ad blocking with AdGuard, Dynamic DNS with DuckDNS, Sentry NGINX proxy for TLS termination, and a bunch more. All on a little Raspberry Pi sitting in my office.
However, soon my needs would grow, and I wanted to have some centralized storage in my house. This got me looking into Network Attached Storage (NAS for short), but this is a topic for another day 😁.
And that is all it takes to get started! While Home Assistant is not really the best example, you could do all of this in the cloud if you wanted, with the disadvantage being you lose connection if your internet goes down, and control of local devices would be complicated. You would also either have to set up some sort of VPN tunnel or expose your instance to the internet, but both are really out of the scope of this post. If you are looking for extra reading here, The Home Assistant forums are pretty active and a good source of information.
Love it, or list it?
Looking back with what I know now, would I still start with a Raspberry Pi? In short, no. Even with their original ~$50 price point and ignoring that they are being scalped / almost impossible to get currently, after all of the extras you are still looking at around $100 all in. You might be able to get these costs down if you already have a sufficient power supply, your own SD card, or by skipping a case, but I still think there are better options for this price point.
Serve The Home has some great articles on tiny/mini/micro form factor PCs, and right now I really think these are the sweet spot for getting started with a homelab. I recently grabbed 2 HP EliteDesk 800 G2 Mini PCs without hard drives for $80 each and grabbed a 240GB SATA and 256GB NVME SSD off of amazon for ~$25 each for each machine, putting the total cost for these systems at about $150 after tax. For that extra $50 you now have redundant (I used a ZFS mirror) real storage (SD cards have a history of dying quickly), 4GB more ram, and significantly more compute power with a full i5, all while still idling at similar power consumption (~15 watts).
If you are ok with having a single hard drive, you can even probably hit the same $100 price point as the Raspberry Pi with a little shopping around on eBay (Ex: 1, 2, 3). This is still more reliable than a Pi, and you also get all of the other benefits. If you really need the absolute smallest, most power-efficient, quietest choice, the Raspberry Pi is not a bad one. Just be careful with the SD card, and have a backup plan for when things go wrong.
It is worth noting that you could connect real hard drives to a Raspberry Pi using USB hard drives, but with the cost of the tiny/mini/micro options, I don’t really view this as viable. This article from Tom’s Hardware might help if you really want to go that route.
See ya later!
In episode 2 I will talk about my adventure into getting a NAS, including the NAS platforms that I considered. Until then, are ya leaving? Alright, see ya later!